On this page
Integrate Stockist Map
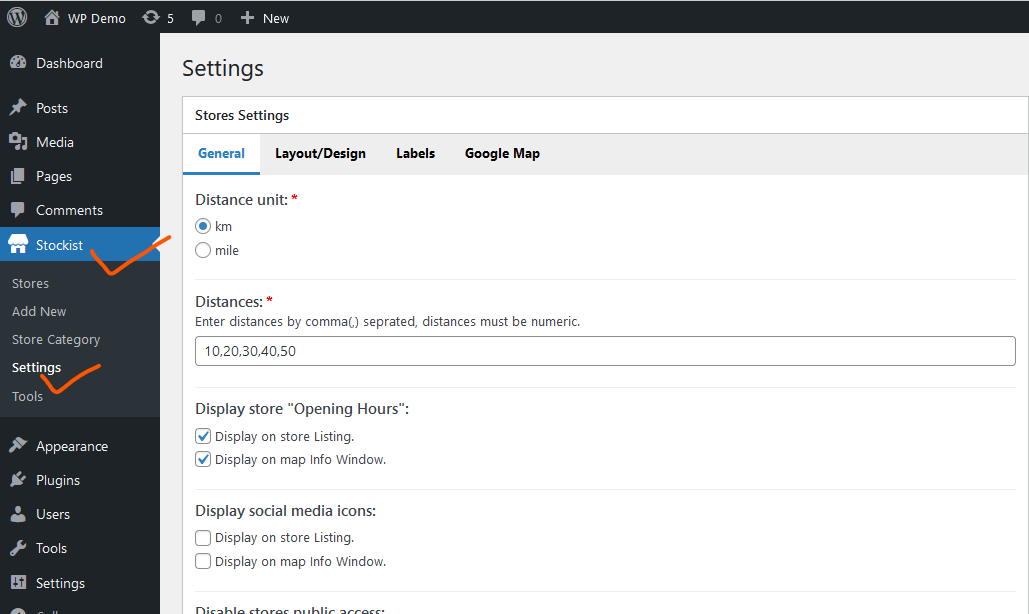
Stockist Settings:
After Install the plugin, Click on “Stockist > Settings” and update the “General Settings” like Distance, Display social media, etc..
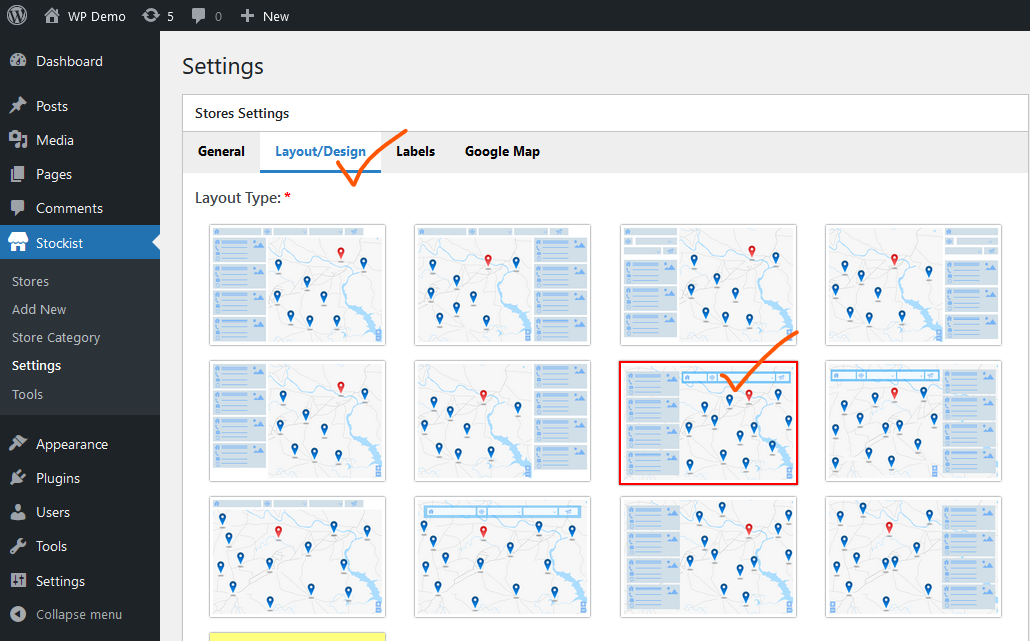
Setup Layout and Design:
We can make the layout changes or add the custom layout, also change map ping.
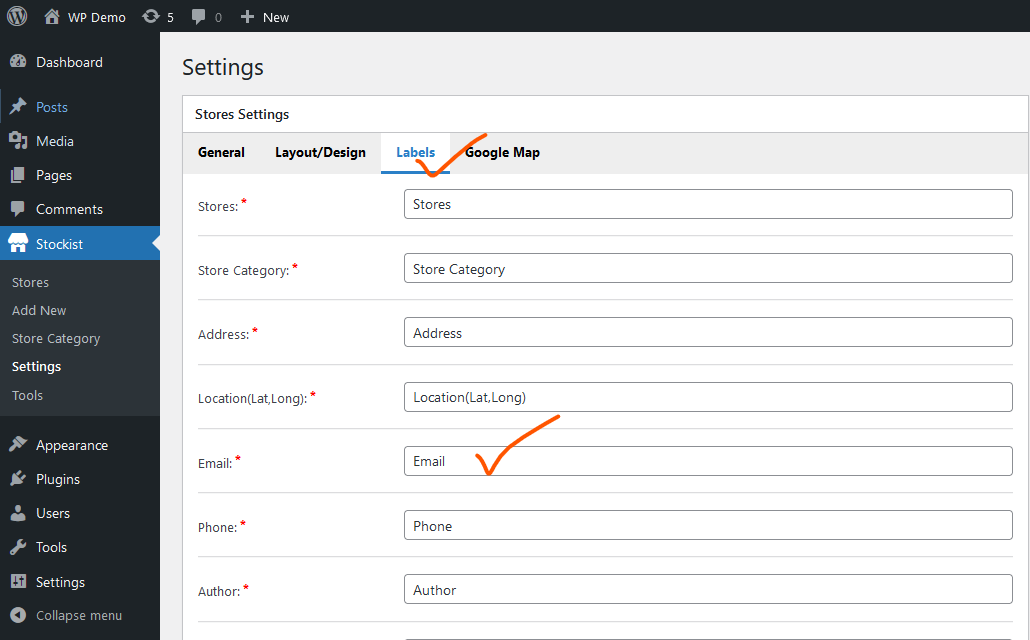
Update Labels:
We can change the all labels as per our need, like change store name, multiple language text (utf-8), etc.
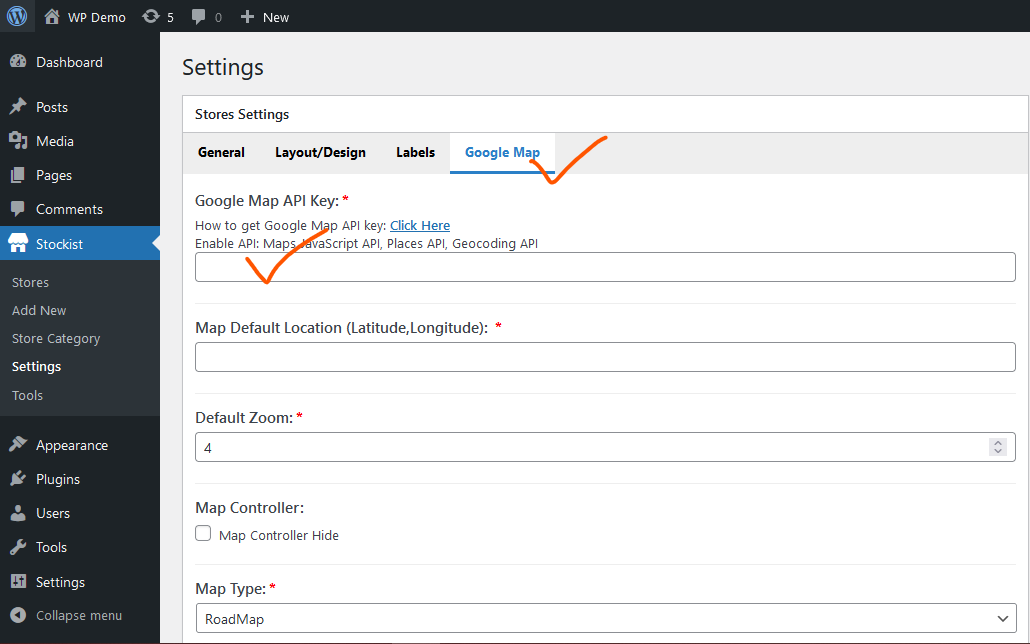
Setup Google Map API Key & Style:
Make all Google map settings, like Google Map API Key, Map Style, Default Location, etc..
Click here to get Google Map API Key.
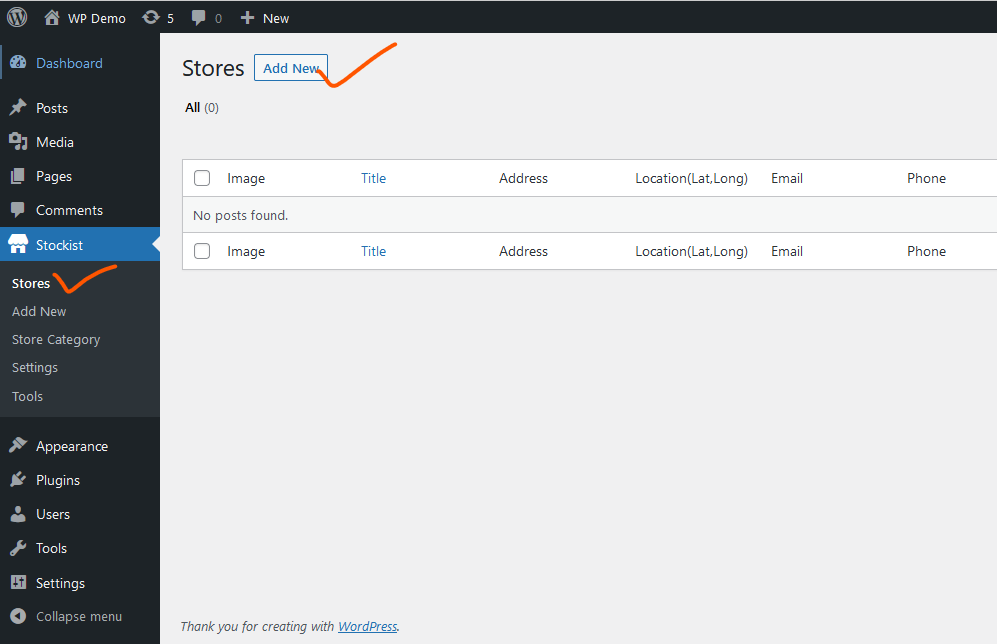
Create Stores:
Add your all store in “Stockist > Stores” section, with Address, Contact, Opening Hours and Social Media.
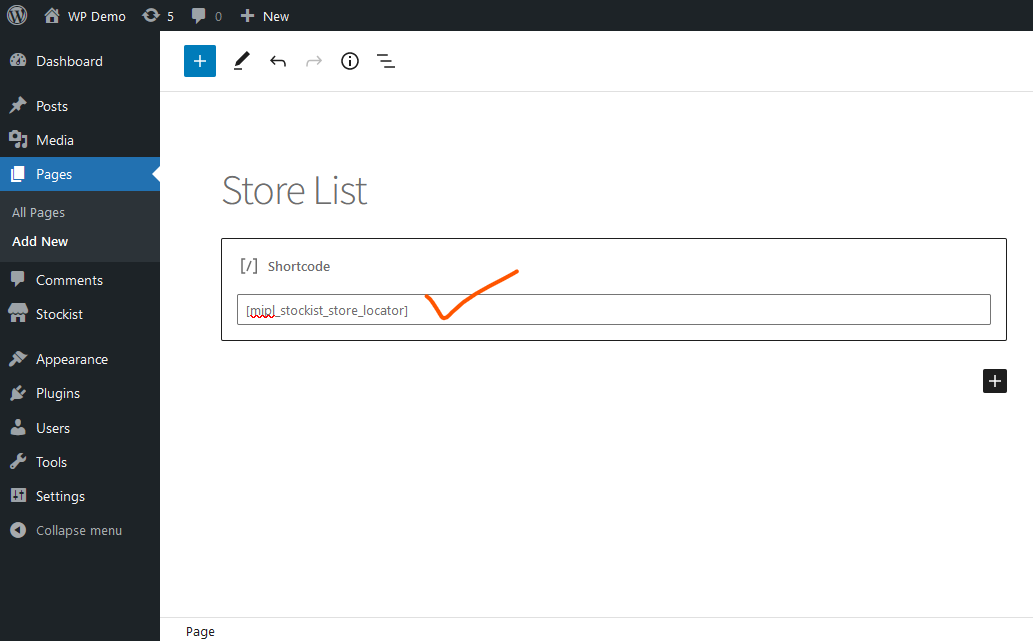
Add Shortcode to Page:
Just add Shortcode [mipl_stockist_store_locator] to any page, Where do you want to show Map.